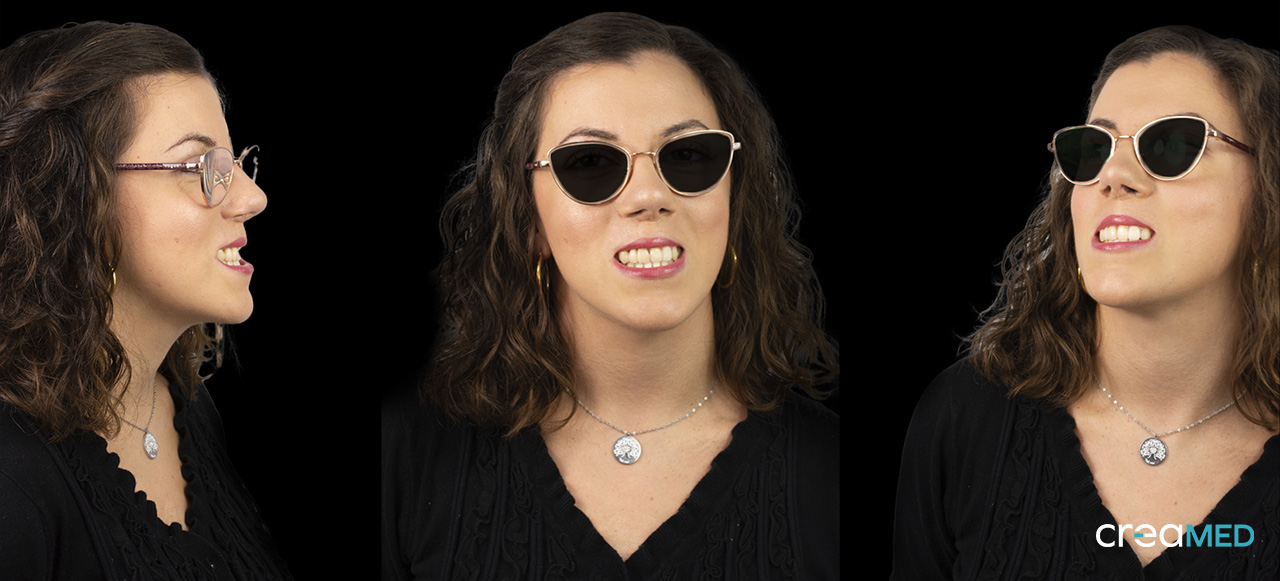
In the following case, we illustrate the creation of a Maryland bridge in Bego VarseoSmile TriniQ printed resin with a totally digital approach, highlighting the potential of the 3D flow in the evaluation and pre-visualization phase, in search of the best solution to restore the smile of patient G.
Before going into the clinical and technical phases of the case, it is important to point out that the patient was affected by cleft palate and after numerous surgical interventions she reached the situation that we will illustrate as the "initial situation".
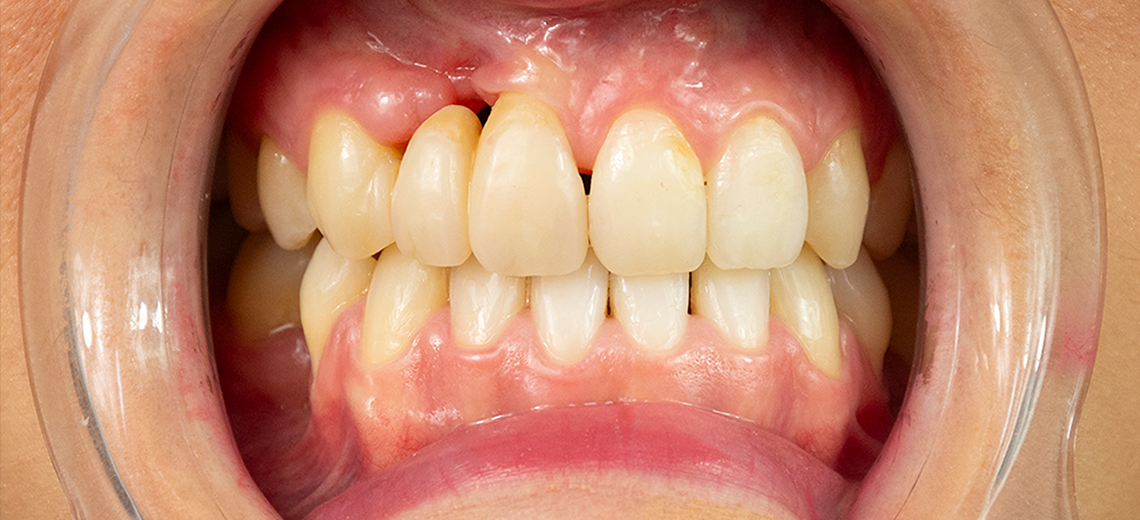
Doing a brief analysis of the 3D impressions taken with AlliedStar AS200E we certainly notice the absence of tooth 22 and 35 and 45 in the lower arch.

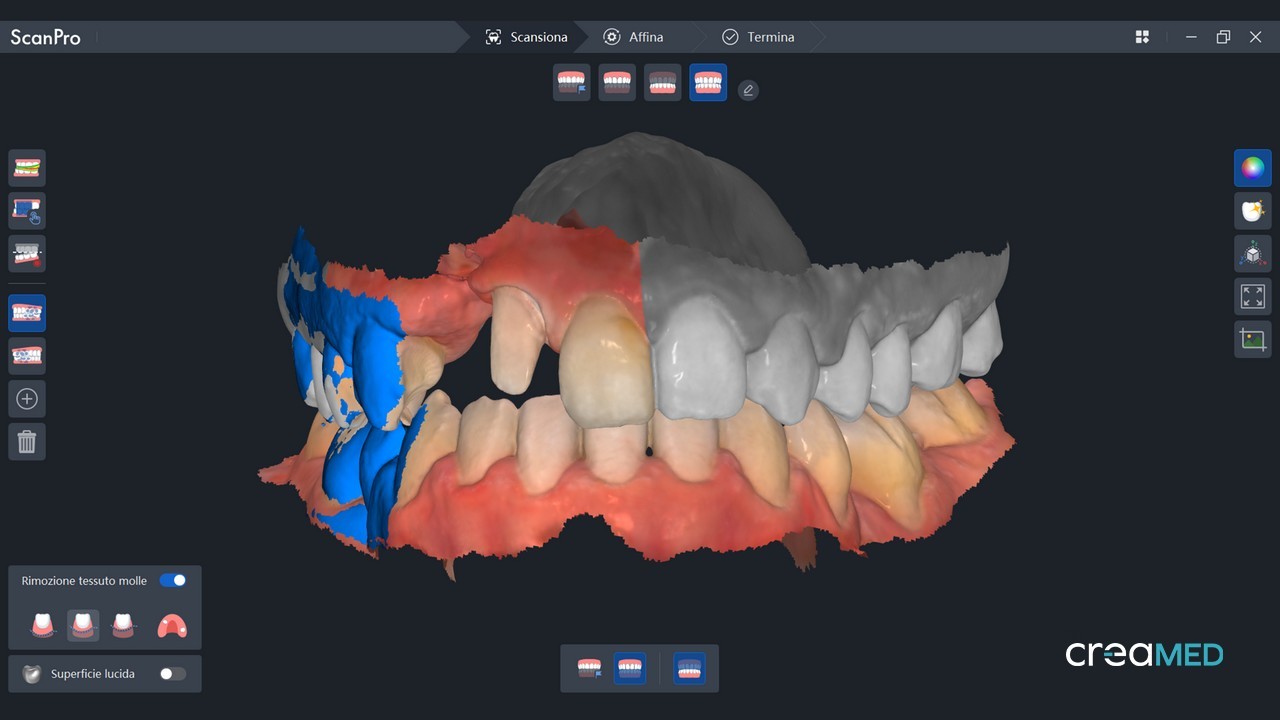
It is evident that, despite numerous interventions, deficiencies or agenesis of the teeth mentioned, nature has reached an occlusal balance through the migration of the proximal teeth such that no symptoms attributable to malocclusions are evident (even from the anamnesis phase) but only blemishes in the frontal sector.
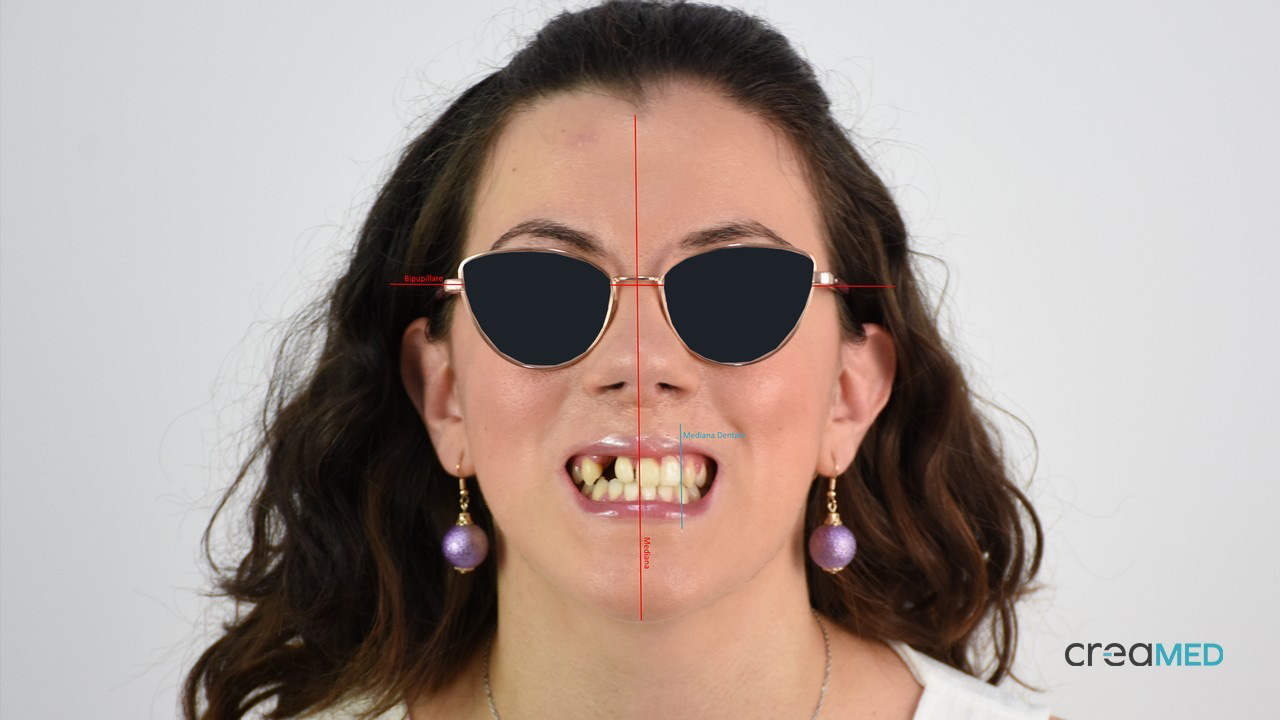
As can be seen from the initial photographs following interventions and migrations we find a slippage of a position of teeth 12 and 11 respectively in position 11 and 21 with:
- Inesthetic proportions in Q2 due to the presence of 21 in position 22
- Dental midline strongly shifted with respect to the facial midline
- Breach in position 12

In the evaluation phase, all the digital information was used to create different resolutions of the case to share and evaluate both from a clinical point of view and to submit to the patient.
One of the strengths of the digital approach is precisely the possibility of studying, evaluating, comparing multiple solutions without having to undertake any "irreversible" action in the oral cavity.
In this case, several alternatives were proposed:
Solution 1: Invasive approach and maximum aesthetics
This solution involves the stump of elements 13-12-11-21 and possible veneers on 23 to restore proportion in the frontal sextuplet.
The clinical challenge would be to carefully manage the cervical area to truly guarantee (after the reduction) maximum pink aesthetics and the correct positioning of zenith and parabolas.
Note: significant sacrifice of healthy dental structures
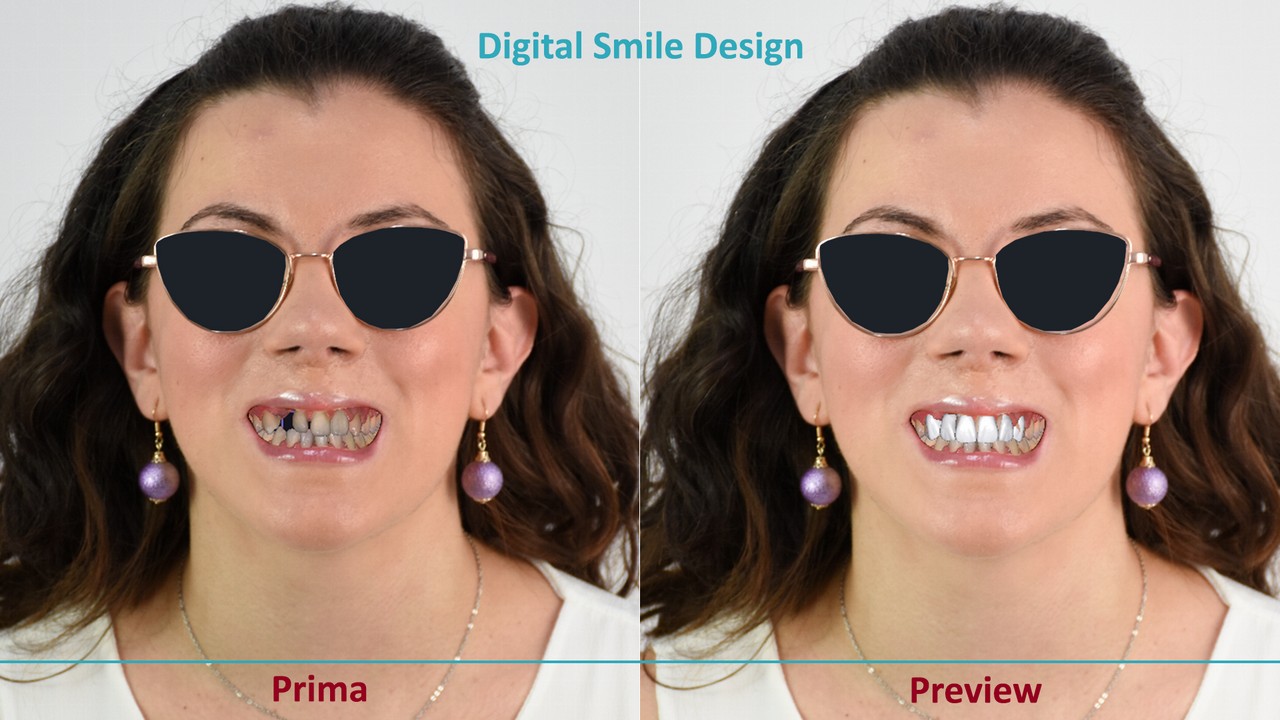
Solution 2: Invasive approach and maximum aesthetics.
Very similar to solution 1; exclusion of 13 and 23 from prosthetics with stump of 12-11 and 21 and implant on gap between 12 and 13 and bone reconstruction.
Also in this case, a significant clinical challenge would be expected with a reduction aimed at prosthetics and achieving maximum aesthetics in the cervical area.
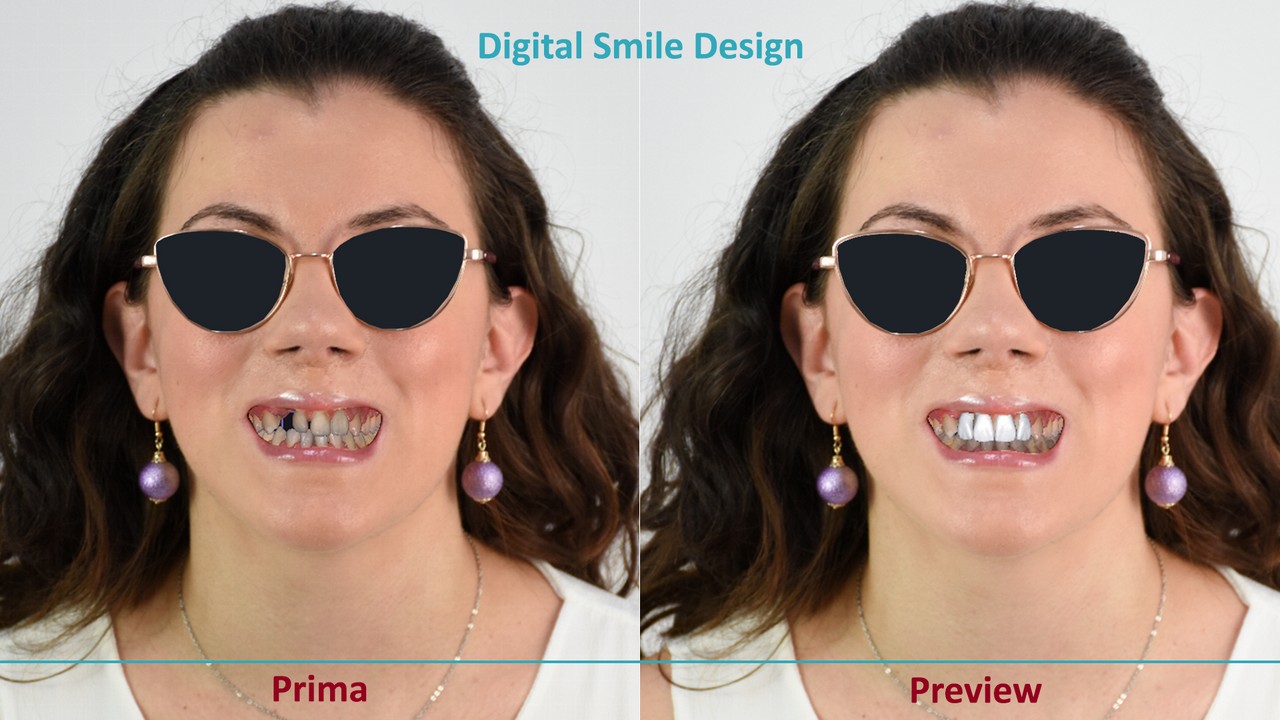
Solution 3 (choice): Minimally invasive approach, less aesthetic than the previous ones.
Preparation of 12 in position 11 with minimal removal of dental tissue to preserve the enamel for the adhesive phase and preparation of the mesiopalatal part of 13 for the creation of a Maryland fin bridge on 13.
Once the three ways of resolving the case were submitted to the clinical and patient's attention, solution number 3 was chosen, considered the quickest (by the patient) and the most biologically and clinically conservative .
The comparison, based on a predictable result with a high percentage of truthfulness through digital planning and pre-visualization , allows all parties to be able to consciously choose the path to take.
In this case, in contrast with the historical period in which aesthetics seems to be the determining factor of every dental treatment, a solution was chosen, aimed at biologically preserving as much dental tissue as possible.
Certainly discrepant with the aesthetic canons of dental "fashion" but which aims to preserve the uniqueness and history that this patient's smile carries with it and the certainty of any possibility of future re-intervention
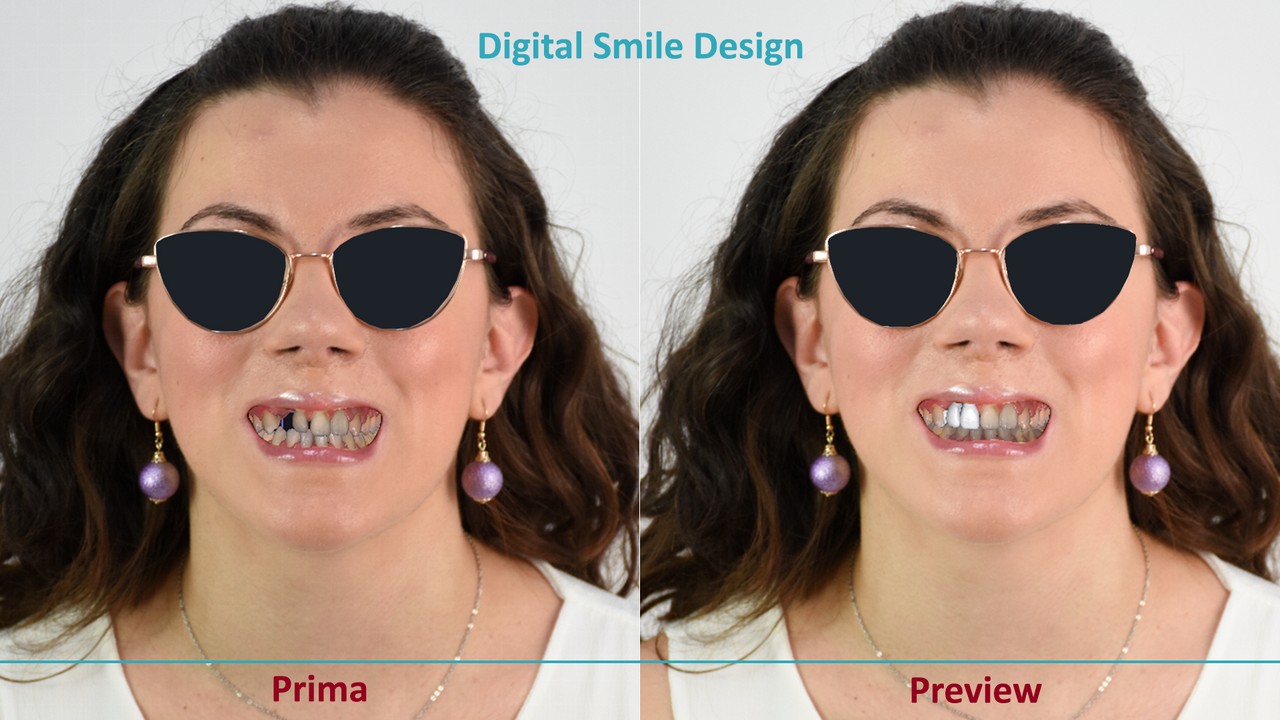
Once the path to take had been decided, an integrated model of the new shape was prototyped (of the 12 which would become a central incisor) with the relative control masks which allowed the doctor to carry out a targeted and minimal preparation to aesthetically and retentively accommodate the new shape without unnecessary sacrifice of healthy dental tissue.
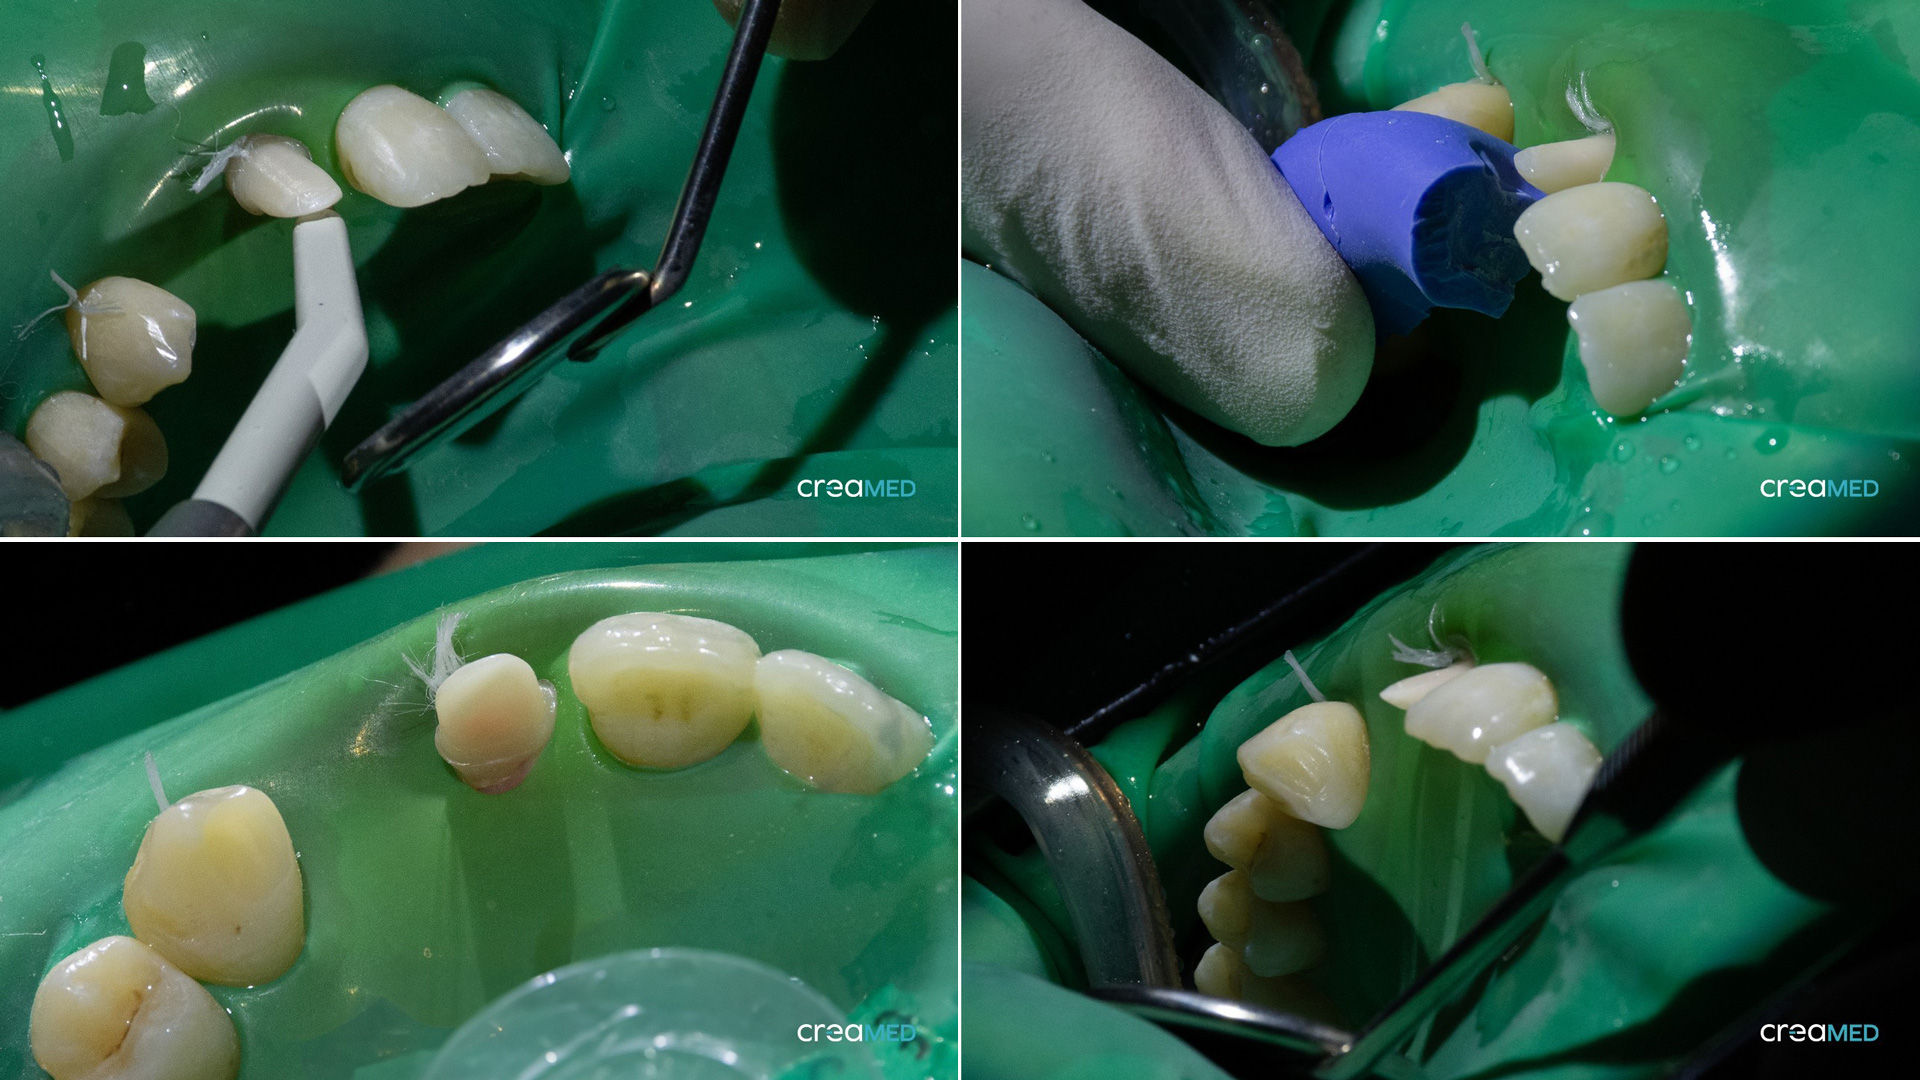
The preparation was performed under a rubber dam in function of the final cementation phase. This type of approach allowed the doctor to operate and define a closure line that adapts to the prosthetic project and that allows a final cementation perfectly isolated from sources of pollution that could constitute a weak point in the adhesion.

The design of the preparation with a digital approach was decided on a chamfer, avoiding sharp and clean edges even on the stump, both for a question of reading, because as is known, each scanner always tends to return a micro rounding of the sharp edges, and for a question of resistance of the prosthetic reconstruction bridge.
Before the digital acquisition phase, the gum was moved away with Teflon so that the finishline was clearly visible and easily readable by the scanner. The opaque white of this material allowed for good light reflection, allowing even a portion of the area beyond the preparation to be read, avoiding any type of artefact such as when using black retraction threads that tend to absorb light, penalising optical detection.

Having already taken the preliminary impressions of the case a few days before, the acquisition of the preparation was also very quick.
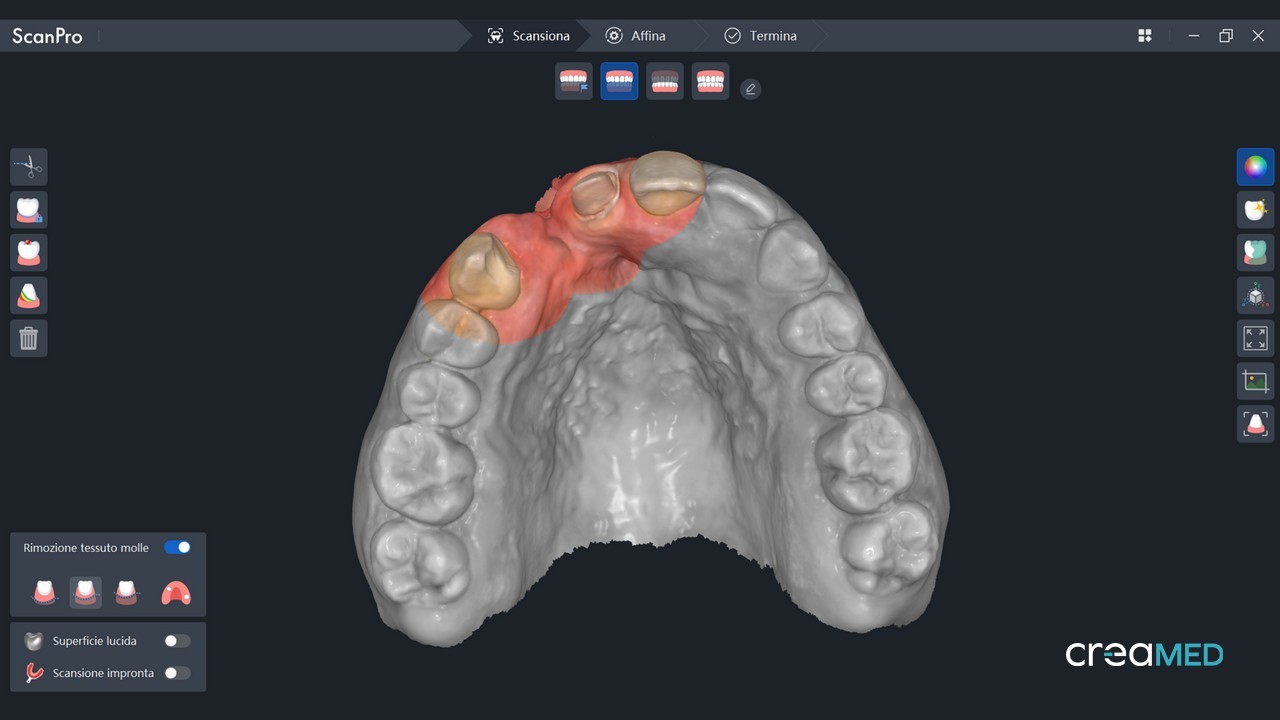
In this case, in fact, it was not necessary to reacquire everything from scratch but it was enough to reopen the case and thanks to the flexibility of ScanPro it was enough to integrate a preoperative step into the scanning flow.
The upper arch with the initial shape, therefore, was transformed in the preoperative situation to still preserve its initial shapes and information so in the Master scan it was necessary to delete and reacquire in HD only the preparation area on 12 alias 11 and on the mesial area of the canine.
Since the reacquisition areas are in HD, it was preferred to extend the deletion also to the adjacent elements in such a way as to reacquire them with a higher definition that allows a more detailed copy of the contralateral.
During the digital acquisition phase, thanks to the numerous tools available, it is also possible to check the quality of the scan and the parallelism of the walls with respect to the prosthetic insertion axis.
Every inaccuracy or error is therefore easily identifiable and correctable by deleting and reacquiring the areas or where changes are necessary.

Specifically, we worked meticulously with the scanner so that in addition to the necessary space, the finishline was also faithful and 100% compliant with the CAD project. Once taken, the impression was paired with the project in Exocad and it took two takes so that everything was in line to obtain what was “promised” to the patient.

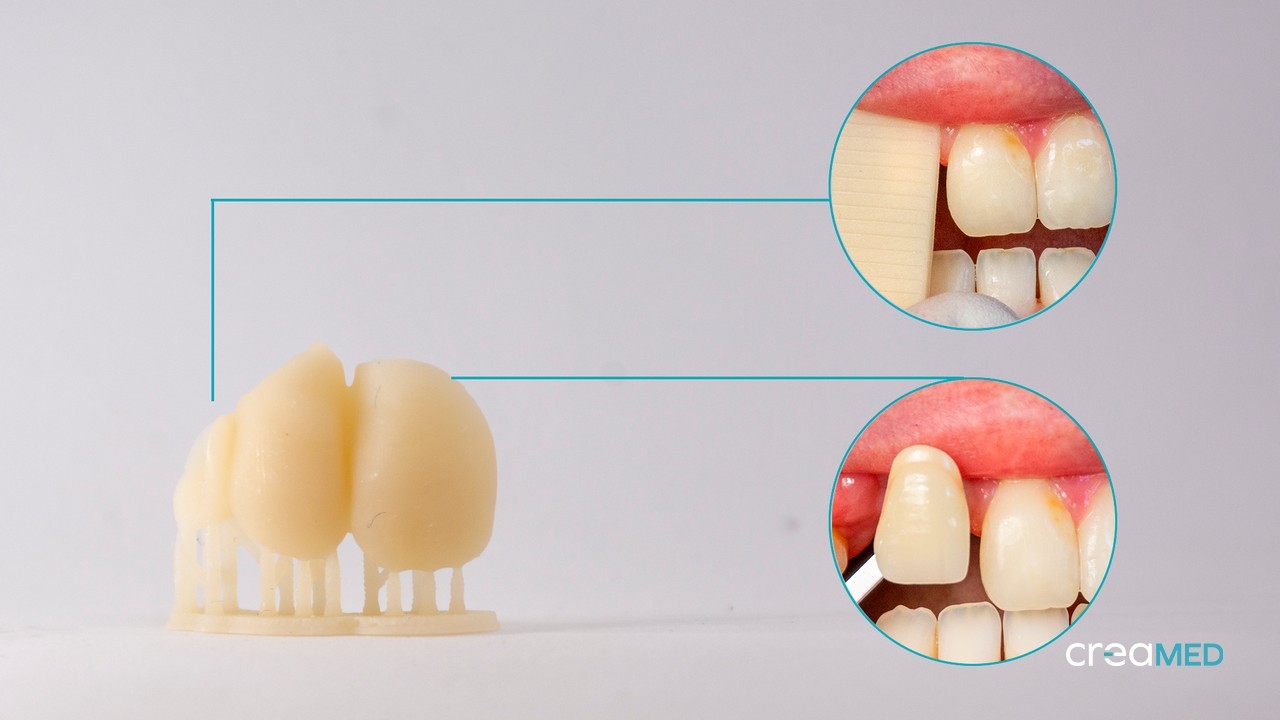
The color detection was performed with the Vita color scale and with a personalized sample of the same to be used in the 3D printing phase which also helped us in choosing the color of the material.

Once the clinical phase of filing and digital acquisition was completed, the modelling established by the initial project was adapted to the closing lines defined by the doctor based on the same.
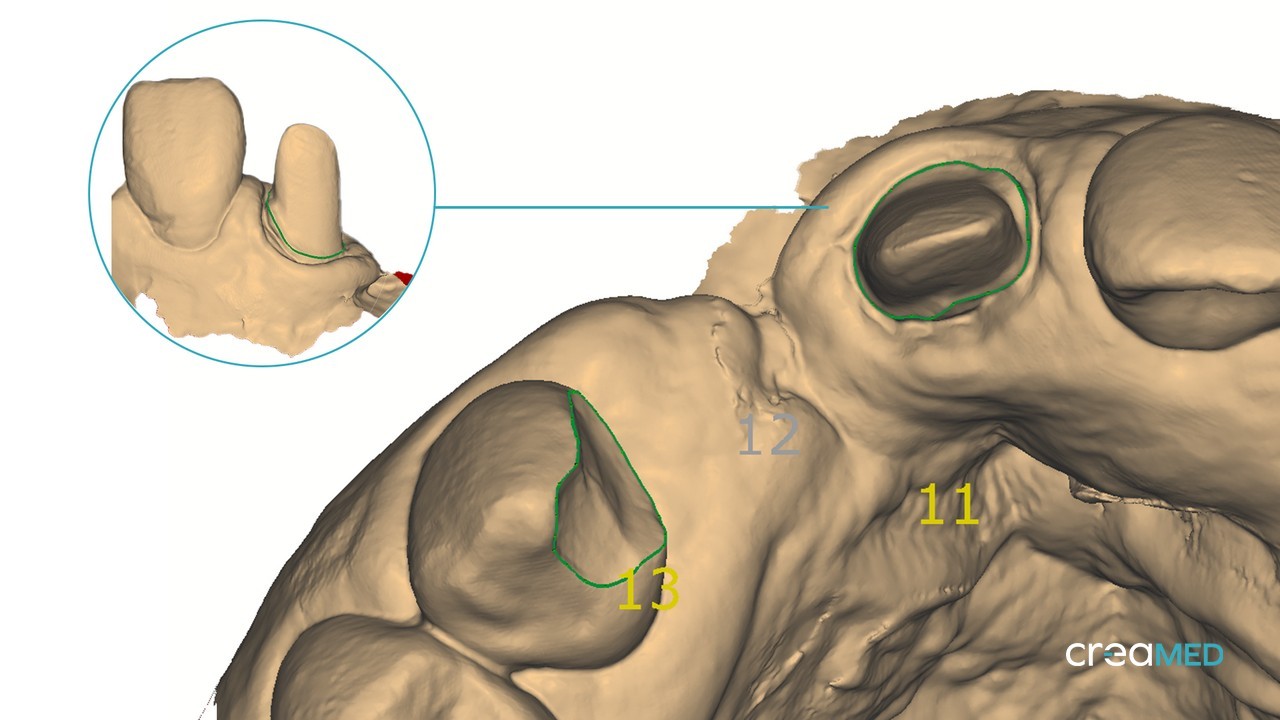
Although the double resumption of preparation on 13 and 12 (aka 11) could be misinterpreted as a slowdown, this allowed us not to have to accept revisions or compromises of the spaces and shape with respect to what was envisioned in the study, design and decision phase of the treatment plan, allowing us instead to be extremely rapid in the operational and technical phases.
In fact, creating the CAD file to print took just a few seconds.
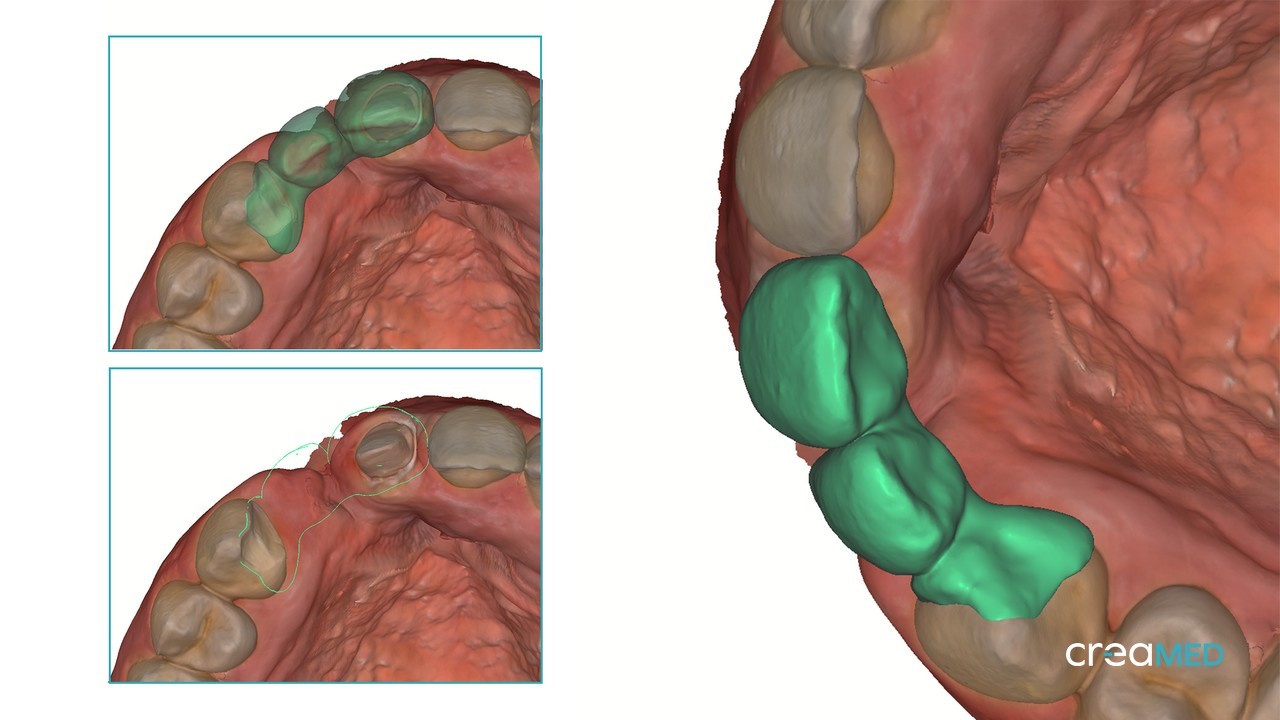
The nesting phase was taken care of both in the orientation and in the position of the support pins so that the printed part had the best possible resistance and accuracy without compromising what was digitally created in the shape.

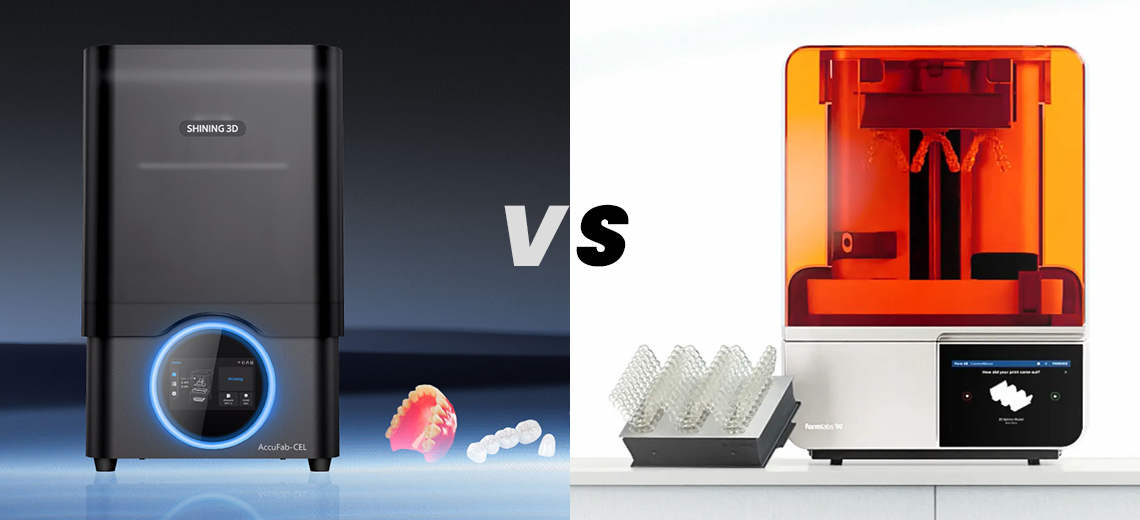
The printing was performed with Accufab-CEL and Bego VarseoSmile TriniQ , a 3D printing material certified for long-term permanence in the oral cavity, highly aesthetic and translucent (although monochromatic) with excellent mechanical properties and resistant to wear thanks to the ceramic microfilling .
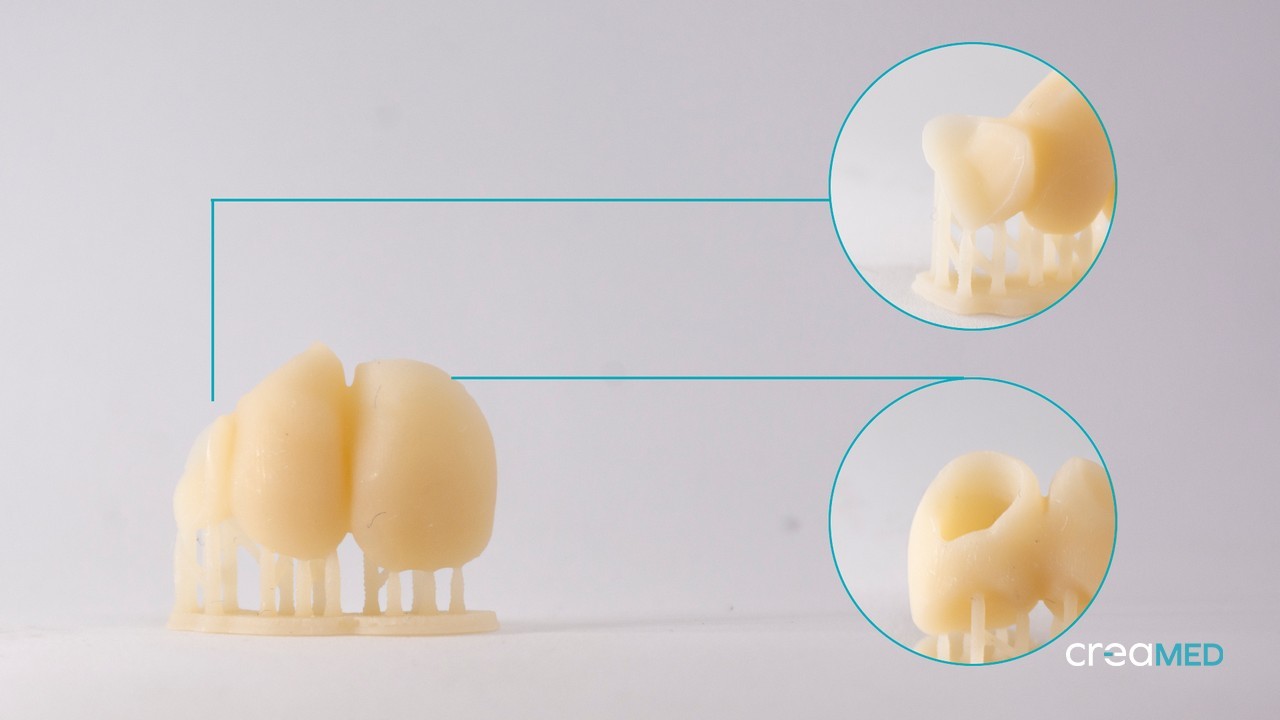
A “slower” mode with 50 micron layers was chosen to obtain maximum detail in modeling and also maximum resolution and accuracy of the closing margin.
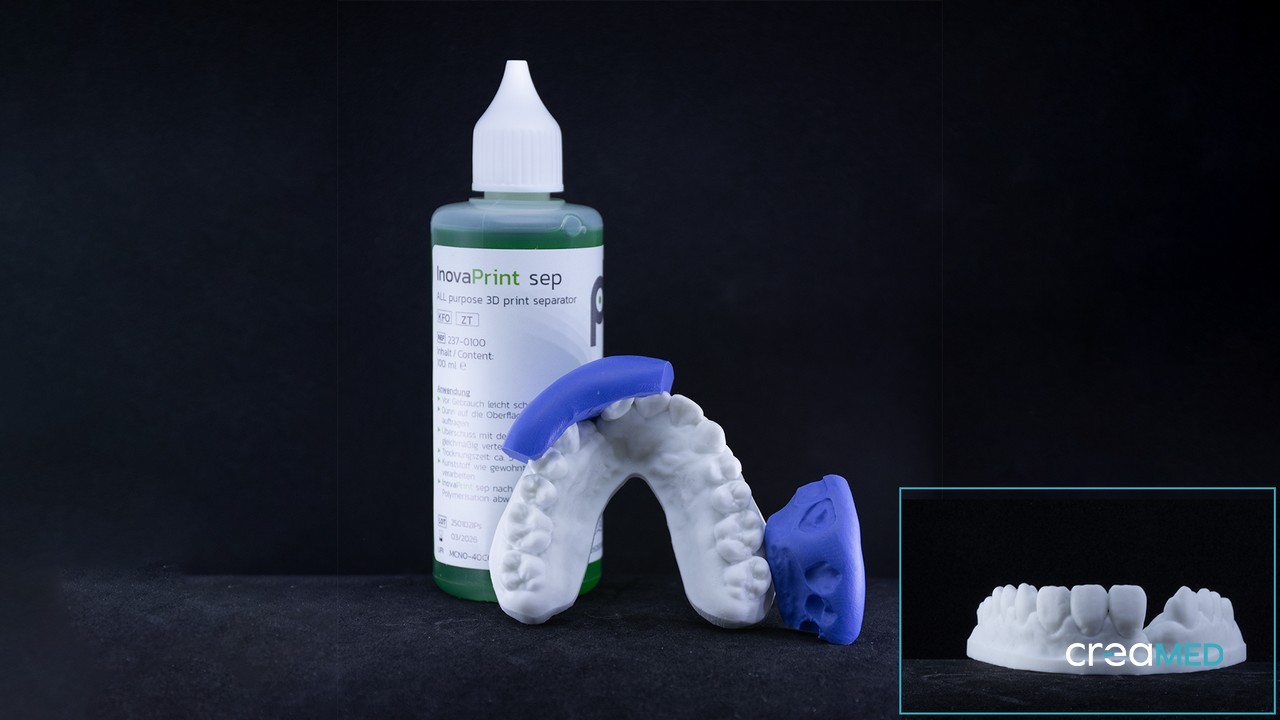
Thanks to the chairside kit consisting of a plate and small tray that Accufab-CEL is equipped with, the bridge was printed in about 30 minutes , washed with HPdent InovaPrint wash (which inhibits the whitish and superficial dispersion layer) and photopolymerized with FabCure 2 at high temperature to obtain maximum resistance.
Once the supports were removed, with the patient in the chair, the bridge was fitted and tried on to verify the accuracy of the closures and precision of the insertion, and some small changes were also made to the shape to improve its aesthetic integration.
Meticulous work on the shape and texture can certainly be a crucial point to better “camouflage” a monochromatic material.
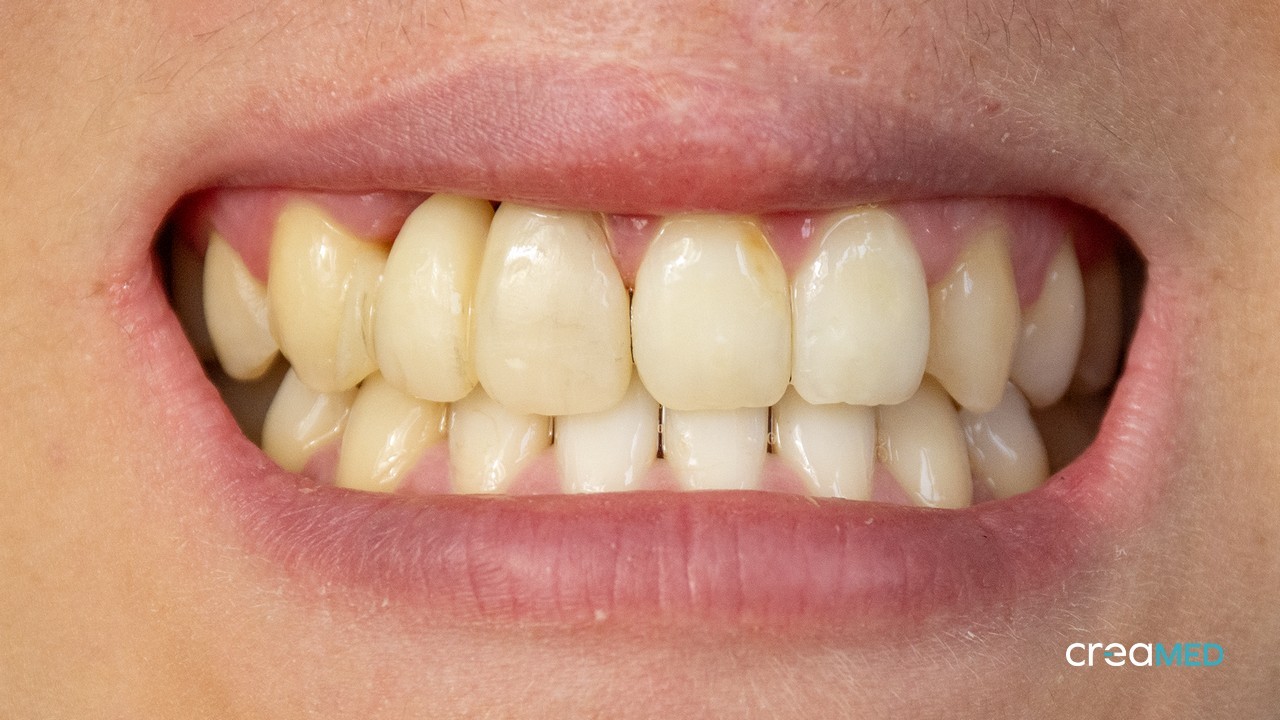
The bridge finish was completed by painting with Shofu Lite Art surface colors , with the help of the color photos taken in the studio. Very useful for visual perception was the sample of resin printed and photographed during the color detection.
For the cementation phase, Dr. Illuzzi chose the adhesive technique to obtain the best bond with the prepared teeth. This phase was performed under dam and with a flow dentine composite for better aesthetics.
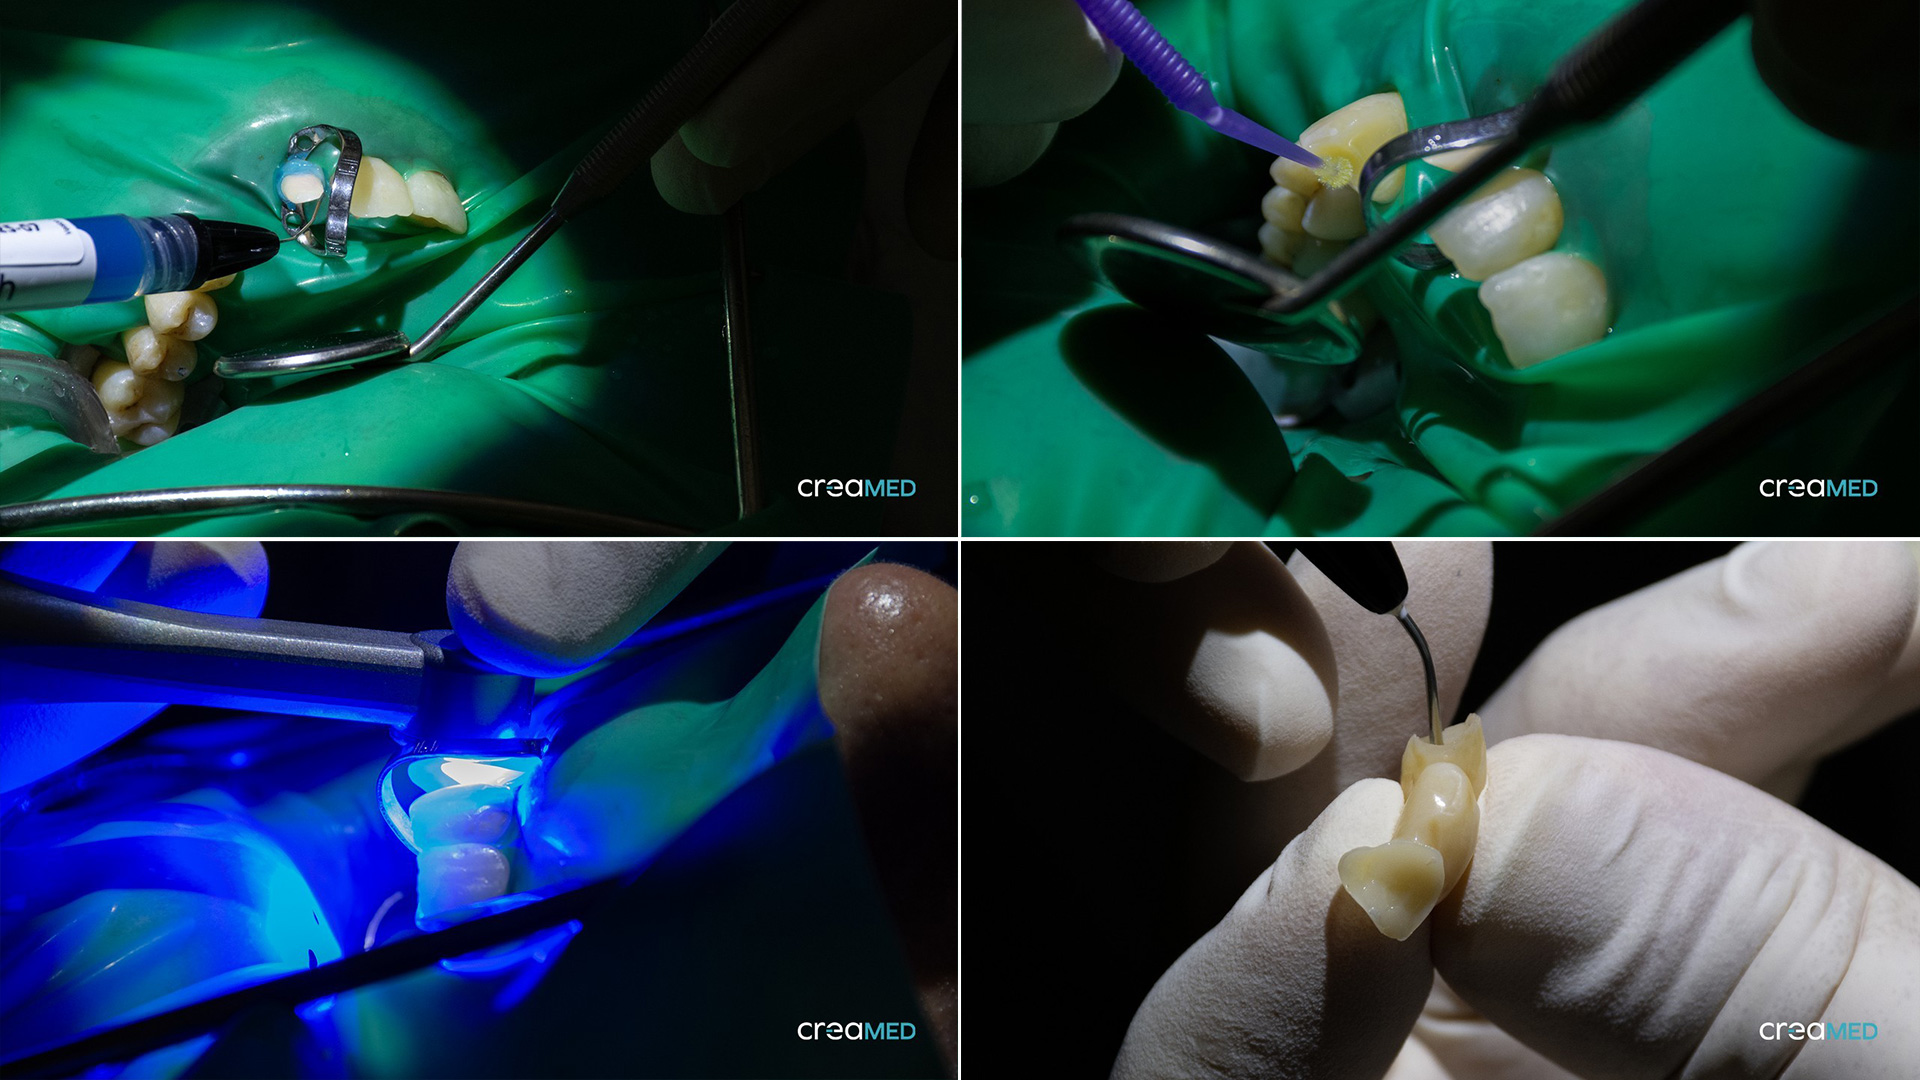
Finally, any excess composite resin was removed and the connection surface between the tooth enamel and the prosthetic composite was polished to preserve the health of the gingival tissues.
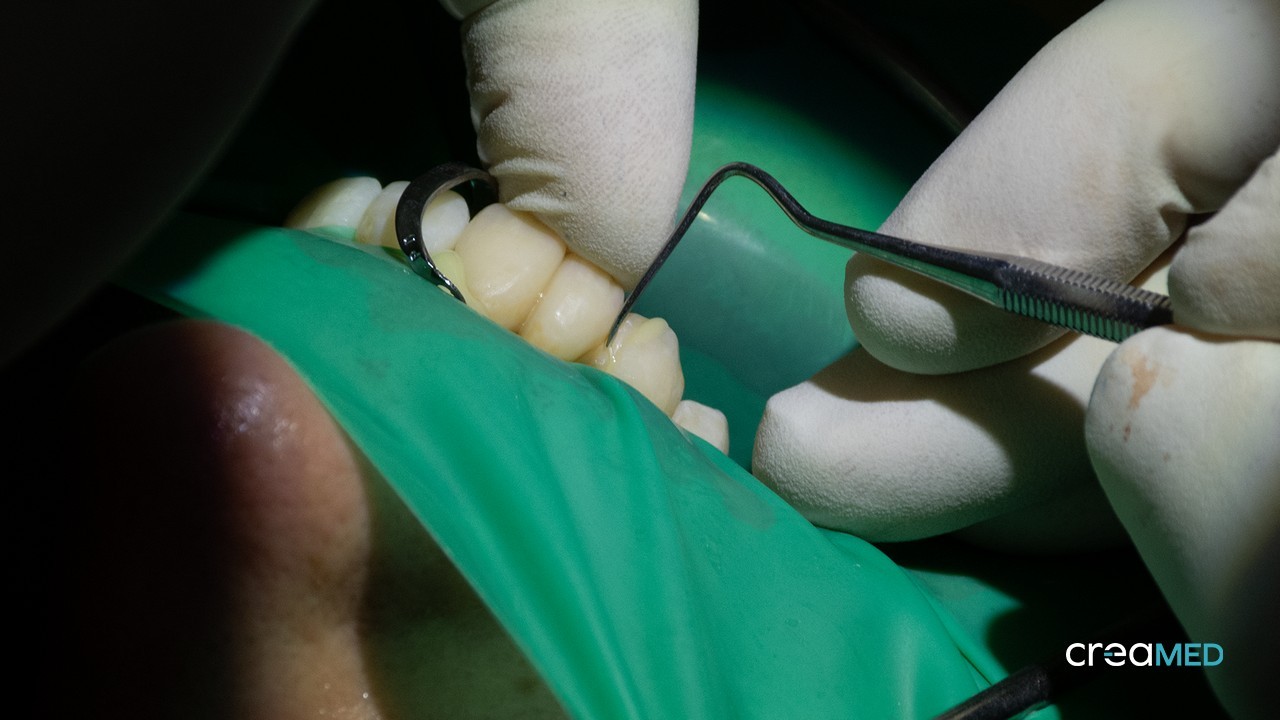
After the cementation phase, it was not possible to take documentation photos due to the dehydration of the adjacent teeth compared to the prosthetic ones.
Below, in conclusion, the photos of the bridge at the check-up after 4 weeks show excellent chromatic integration of the perfectly pink and healthy gingival tissues .
No accumulation of plaque or superficial compromise of the prosthetic bridge, and excellent satisfaction of the patient who can smile spontaneously after years of blemishes.
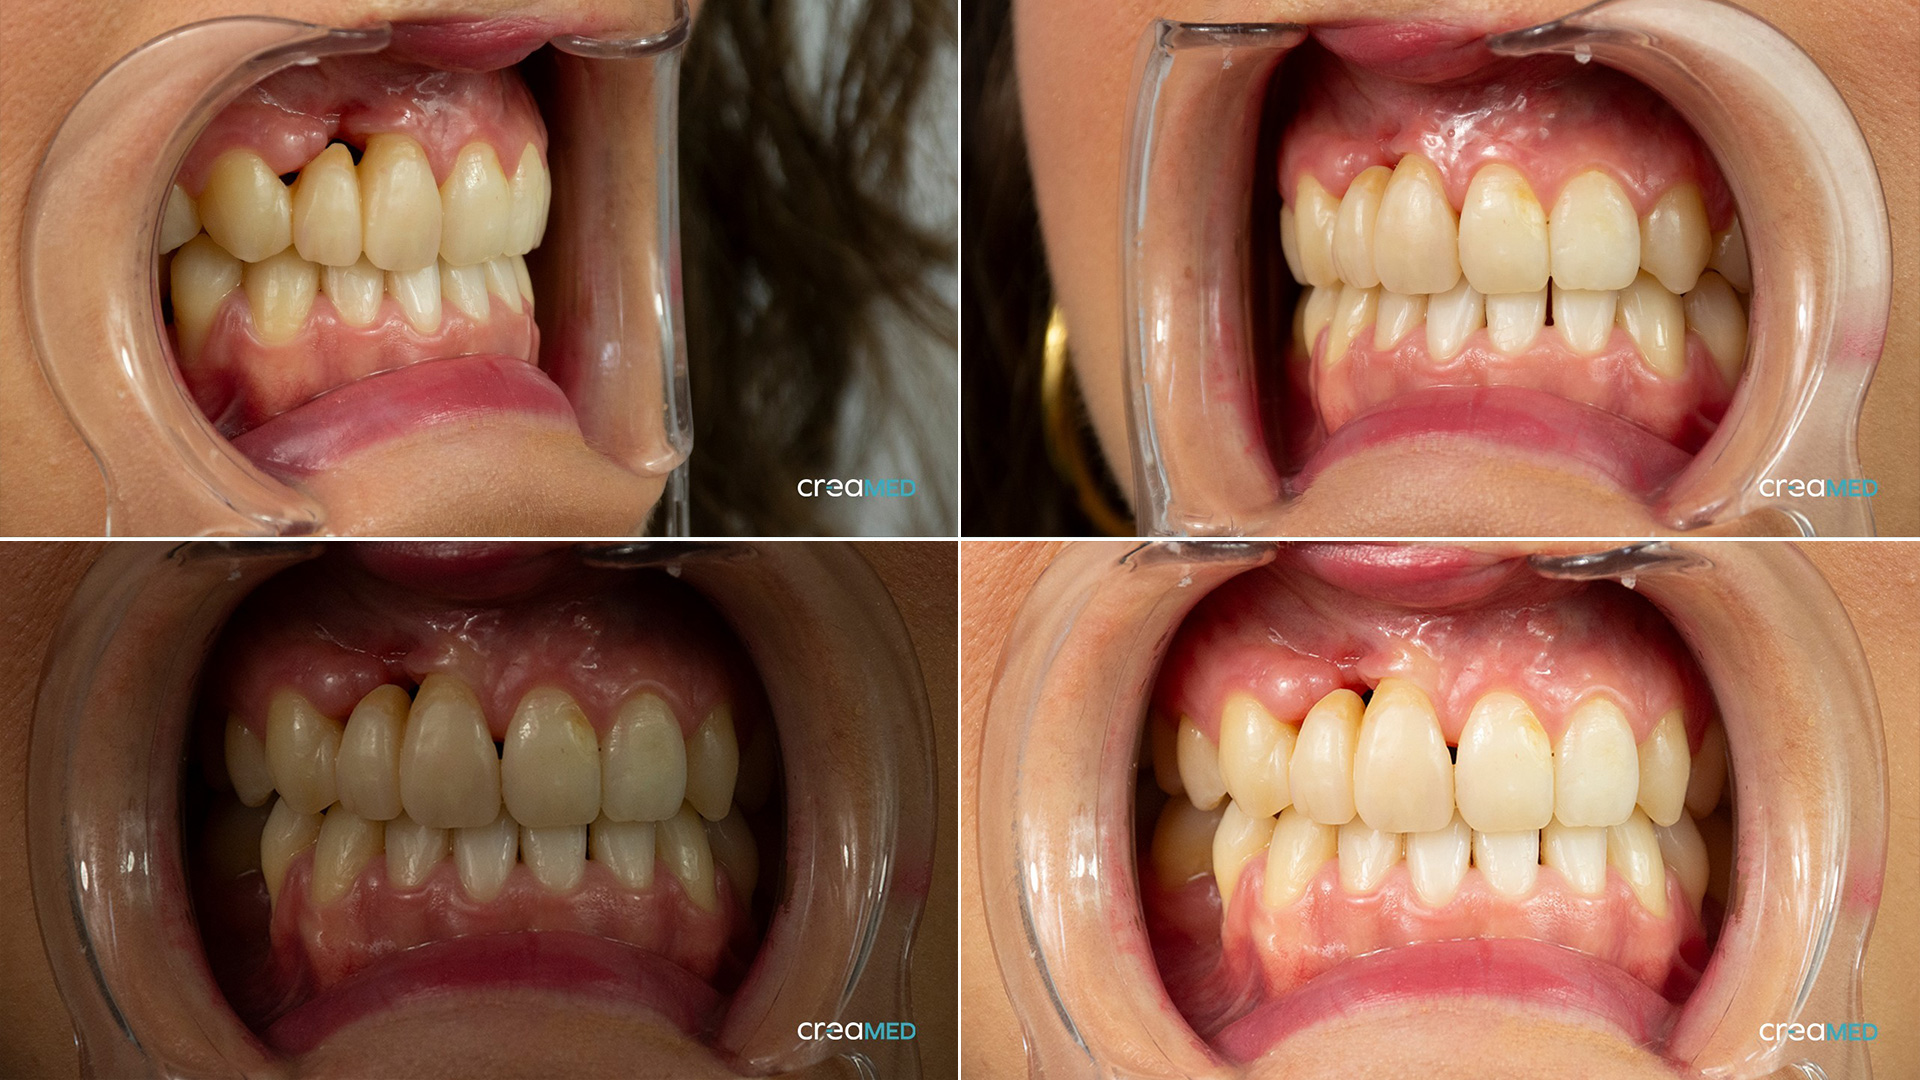
We are sure that from an aesthetic point of view more could have been achieved. But at what biological cost?
We would like to thank Dr. Michele Illuzzi and the Francesco de Vanna Dental Laboratory for their clinical and technical collaboration in the realization of the case.

